In short
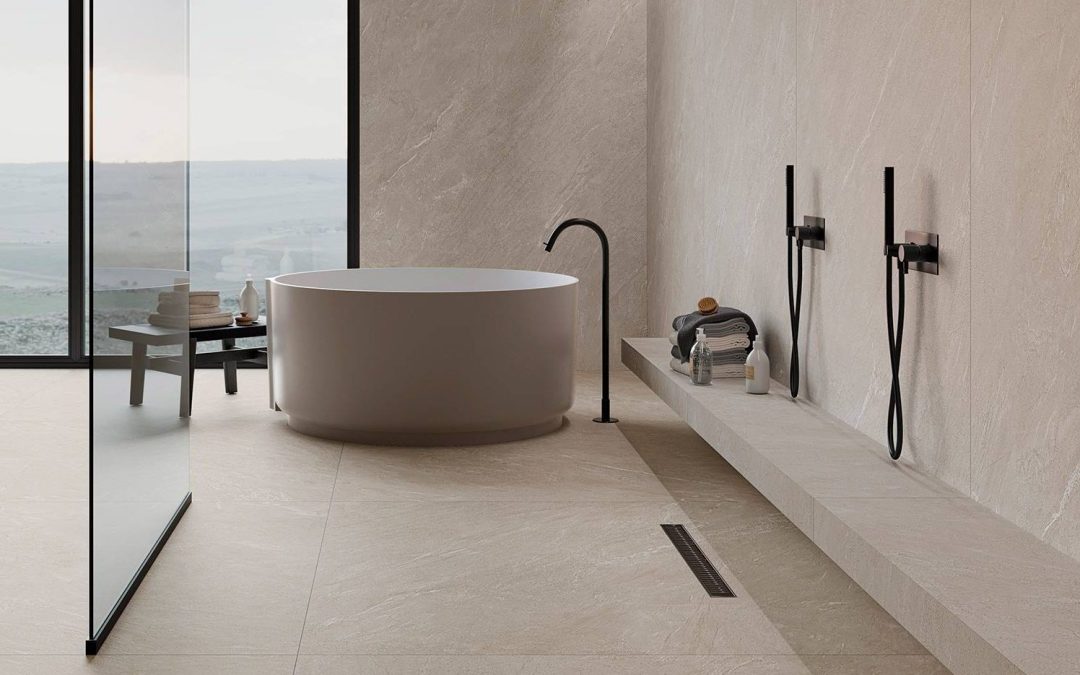
- A tiled walk-in shower (often called a wet room) is built into the bathroom floor itself, with no prefabricated tray: the floor tiles continue into the shower and form the falls towards the drain. The alternative is a flush shower tray, set at the same level as the floor.
- Under the Spanish building code (CTE), a shower floor is Class 3 (Rd > 45). It is mandatory in buildings for public use and the sensible benchmark in a private home.
- The R scale (R10, R11) is tested with shoes on. For bare feet there is the A, B and C scale (DIN 51097): ask for both.
- The tile size depends on the drain: with a linear drain the floor falls in a single plane and takes large pieces; with a centre point drain, the four falls call for small formats or cut pieces.
- Grout, drain, niche, concealed shower valve and vanity unit are all decided before work begins. You can see and touch the materials at our showroom in Palma, Carrer de Calçat, 16.
In some bathrooms the floor never breaks. You walk in and the same surface carries you all the way to the water, with no step, no edge, no change of material cutting the room in two. Light runs across the floor and the bathroom feels larger than it is.
Behind that feeling lie several technical decisions, and almost all of them are made before the first bag of adhesive arrives. This guide puts them in order: which materials to choose for a walk-in shower or a level-access shower, and what to agree with your installer from the very start.
Wet room, flush tray, trayless shower: what we mean
Three terms often used as synonyms, though they are not quite the same:
- Tiled walk-in shower (wet room style, or trayless shower): the shower floor is built on site. The bathroom floor tiles run into the wet area and form the falls towards the drain, over continuous waterproofing.
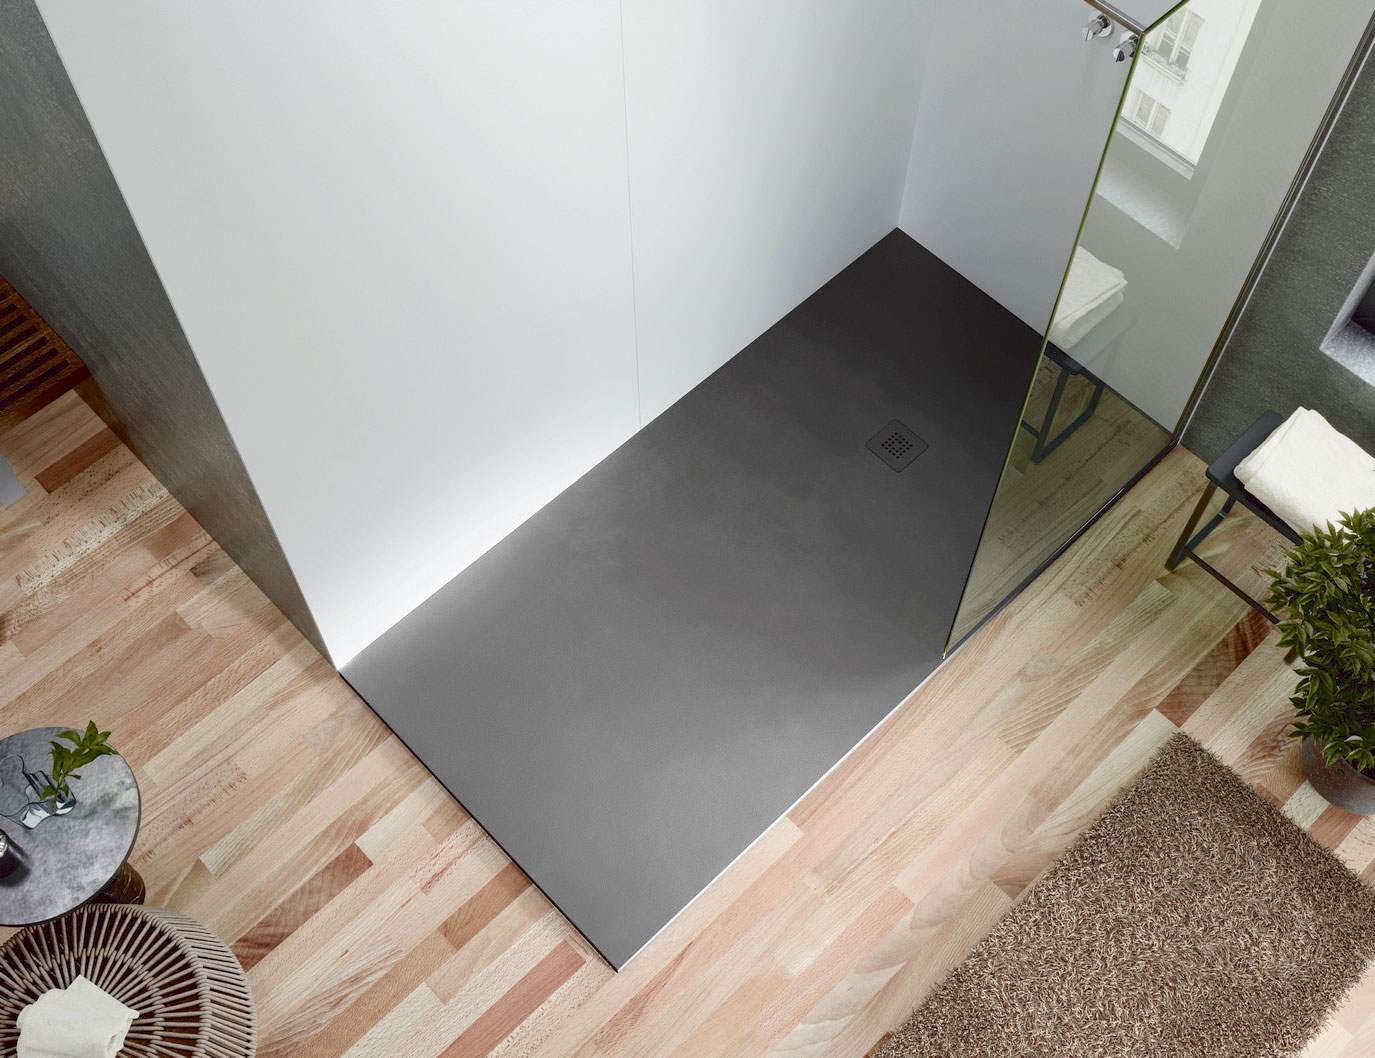
- Flush shower tray: a prefabricated tray (resin, ceramic or mineral) set at the same level as the floor, with no step.
- Level-access shower (known as a curbless shower in the US): the result both of the above are aiming for. No upstand, with a flat entry.
The first decision: continuous floor or flush tray
A continuous floor is the most architectural option. One surface, one material, one texture from the basin to the corner of the shower. It works especially well in small bathrooms, where every change of material takes away visual space (we cover this in tiles for a small bathroom). In return, it means choosing a floor tile that serves both the dry area and the wet area, and it needs careful work on falls and waterproofing.
A flush tray separates the roles: the tray deals with the water and the floor tiles with everything else. Its advantage is predictability: the fall comes built in from the factory, and many resin models can be cut to size. The full comparison of materials and sizes is in our guide on how to choose a shower tray.
If you want total continuity with no joints at all, first compare microcement and microcement-effect porcelain in the bathroom.
Floor tile size depends on the falls
This is the link most often forgotten: tile size is not chosen for looks alone, it is chosen for how the water drains.
Large format
A large tile is rigid and flat, so it works best with a single sloping plane. That happens when the drain is linear: the floor falls in one direction towards the grate and the porcelain can run into the shower with almost no cuts. Few joints and a continuous reading that makes the bathroom look bigger. Formats, thicknesses and the limits of large pieces are covered in large format tiles.
Small format and mosaic
With a point drain in the centre, the floor forms four falls that meet at the drain. A small tile follows those planes with ease; a large one has to be cut diagonally along the ridges. More grout per square metre also means more grip underfoot. That is why mosaic is still so common in tiled walk-in showers.
A rule of thumb: linear drain, any format; point drain, small format or cut pieces. It is best to decide the two together.
Slip resistance for wet, bare feet
A shower is the only floor in the house that is always walked on barefoot, wet and soapy.
What the Spanish building code requires
The Spanish Technical Building Code, the CTE (DB SUA 1, table 1.2), classifies floors into four classes by their slip resistance Rd, measured with the pendulum test. Bathrooms, as wet indoor areas with a slope under 6%, require Class 2. Showers, like outdoor areas and swimming pools, require Class 3 (Rd > 45).
An honest caveat: this requirement is mandatory in buildings used as public residential (hotels and similar), healthcare, education, retail, administrative and public assembly premises. In a private home it is not mandatory, but it is the best reference available, and in a tiled walk-in shower the shower floor is the floor tile itself: its class matters.
R11 does not tell the whole story
Many porcelain data sheets express slip resistance on the R scale (R9 to R13, DIN 51130). That test is carried out with shoes and oil. For barefoot areas there is another scale, DIN 51097, with classes A, B and C, where C offers the most grip. If the data sheet of a tile you like for the shower states its CTE class and also its A, B or C rating, you will have a far more accurate idea of how it behaves under a wet foot. All the equivalences, and their limits, are in our guide to R9, R10, R11 and slip resistance classes, and how to read the rest of the figures in how to read a tile data sheet.
The same design, two finishes
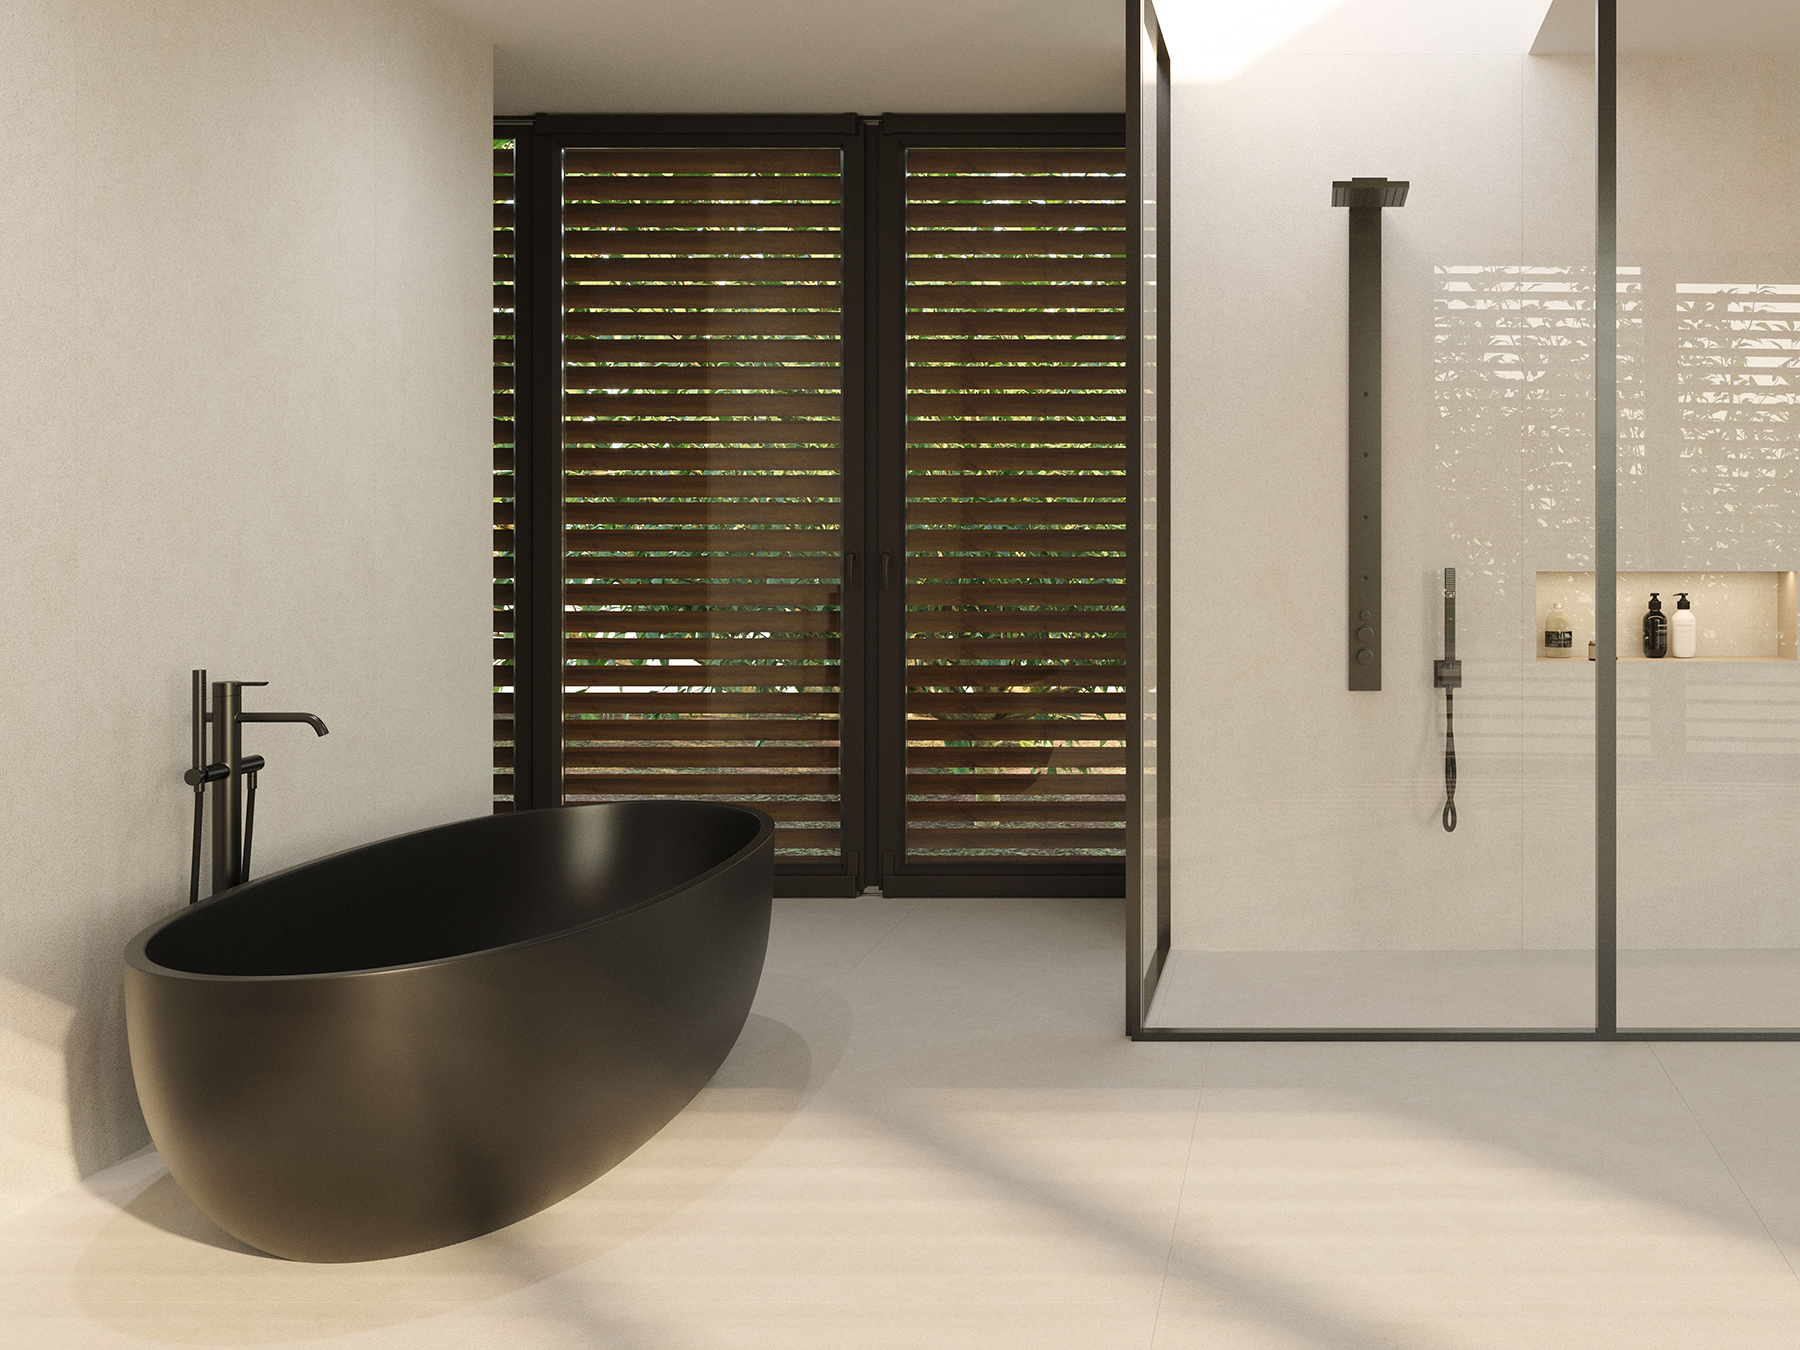
The most elegant solution for a continuous floor is to choose a collection that offers the same design in two finishes: a natural one for the bathroom and an anti-slip one for the shower area. To the eye it is a single surface; underfoot, each area has the grip it needs. One last point: the rougher a surface, the more it grips and the harder it is to clean. Touch the sample, wet it, and decide.
The grout, the hardest-working detail
In a shower, the porcelain tile itself absorbs almost no water. The grout is what does the work: it takes water every day, plus soap, limescale and cleaning products. It is the first thing to darken and the thing you notice most.
- Grouting material. Ask your installer which grout they propose for the wet area and whether a material with greater chemical and stain resistance than standard cement grout, such as epoxy grout, would be advisable.
- Colour. Grout in the same tone as the tile disappears; very light grout on a shower floor ends up showing every use.
- Junctions. The corner between floor and wall and the edge around the drain are the critical points. They are resolved with the right waterproofing and sealing, not with more grout.
To speak the same language as your installer, read through our guide to laying porcelain floor tiles.
The drain is part of the design too
The position of the drain decides how the floor looks, so it deserves the same attention as the tile.
- Linear drain along the back wall. The floor falls towards the wall and the entry stays perfectly flat. It is the most discreet option and the one that best suits large formats.
- Linear drain at the shower entrance. It acts as an invisible border between the wet area and the rest of the bathroom.
- Point drain. More traditional, with four falls. It calls for small formats or careful cutting.
- The grate. It can be metal and visible, or a tile-insert type finished with the same floor tile, so the drain is reduced to a line.
Before choosing, check with your installer whether there is enough depth to fit everything flush: when renovating older flats, the level of the existing waste pipe is often what decides between a tiled walk-in shower, a flush tray or a raised tray.
The walls: how high the material goes
If the floor is continuous, the wall is the second half of the decision. Three common approaches:
- The same material from floor to wall. The bathroom reads as a volume carved from a single material. With large format tiles on the wall, the number of joints drops to a minimum. The marble effect is one of the most requested for this gesture: we explore it in marble-effect bathrooms.
- A feature wall. Only the shower wall changes: a relief, a mosaic, a texture that catches the raking light of the water.
- Half-height or wainscot. The shower material rises to a line and the rest of the wall stays lighter.
Either way, ask for walls and floor to be set out together, so the joints line up.
Taps, niche and vanity unit: decide them before the walls are closed
A tiled walk-in shower is designed from the inside out. Anything concealed has to be chosen before tiling begins:
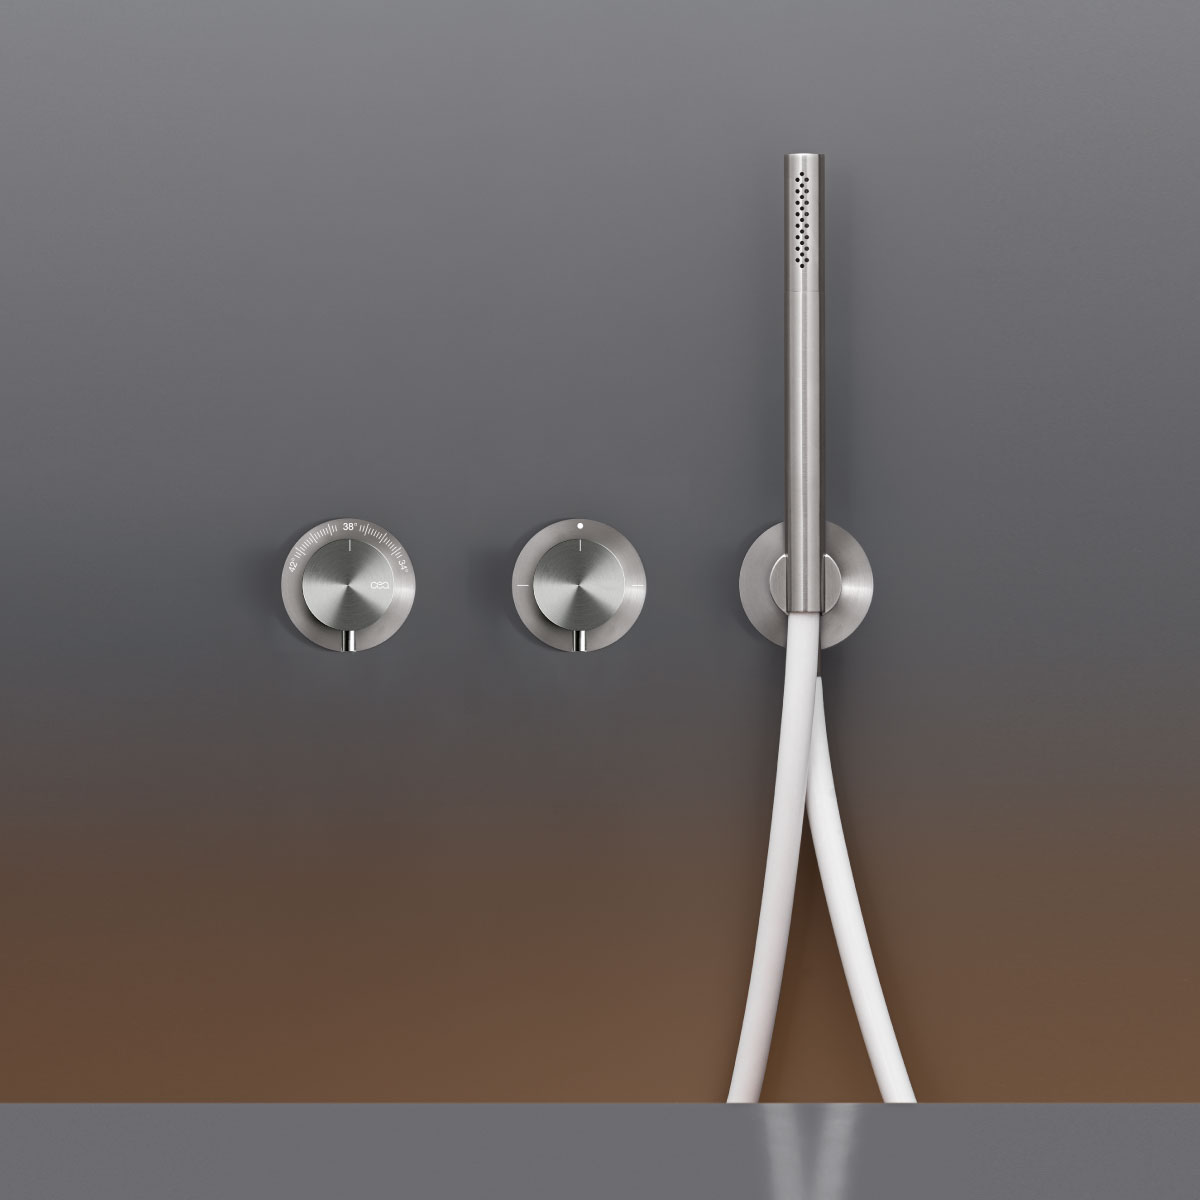
- Concealed shower fittings. Ceiling or wall-mounted rain head, hand shower, thermostatic or single-lever mixer: each option has its own concealed body and position in the wall. The metal finish and the tile tone are chosen together.
- Niche. A recess in the shower wall does away with shelves and bottles on show. Its size should match the tile format so that joints are not cut in the middle of the recess.
- Glass screen or open shower. It determines where the water splashes and, therefore, how far the fall and the waterproofing need to extend.
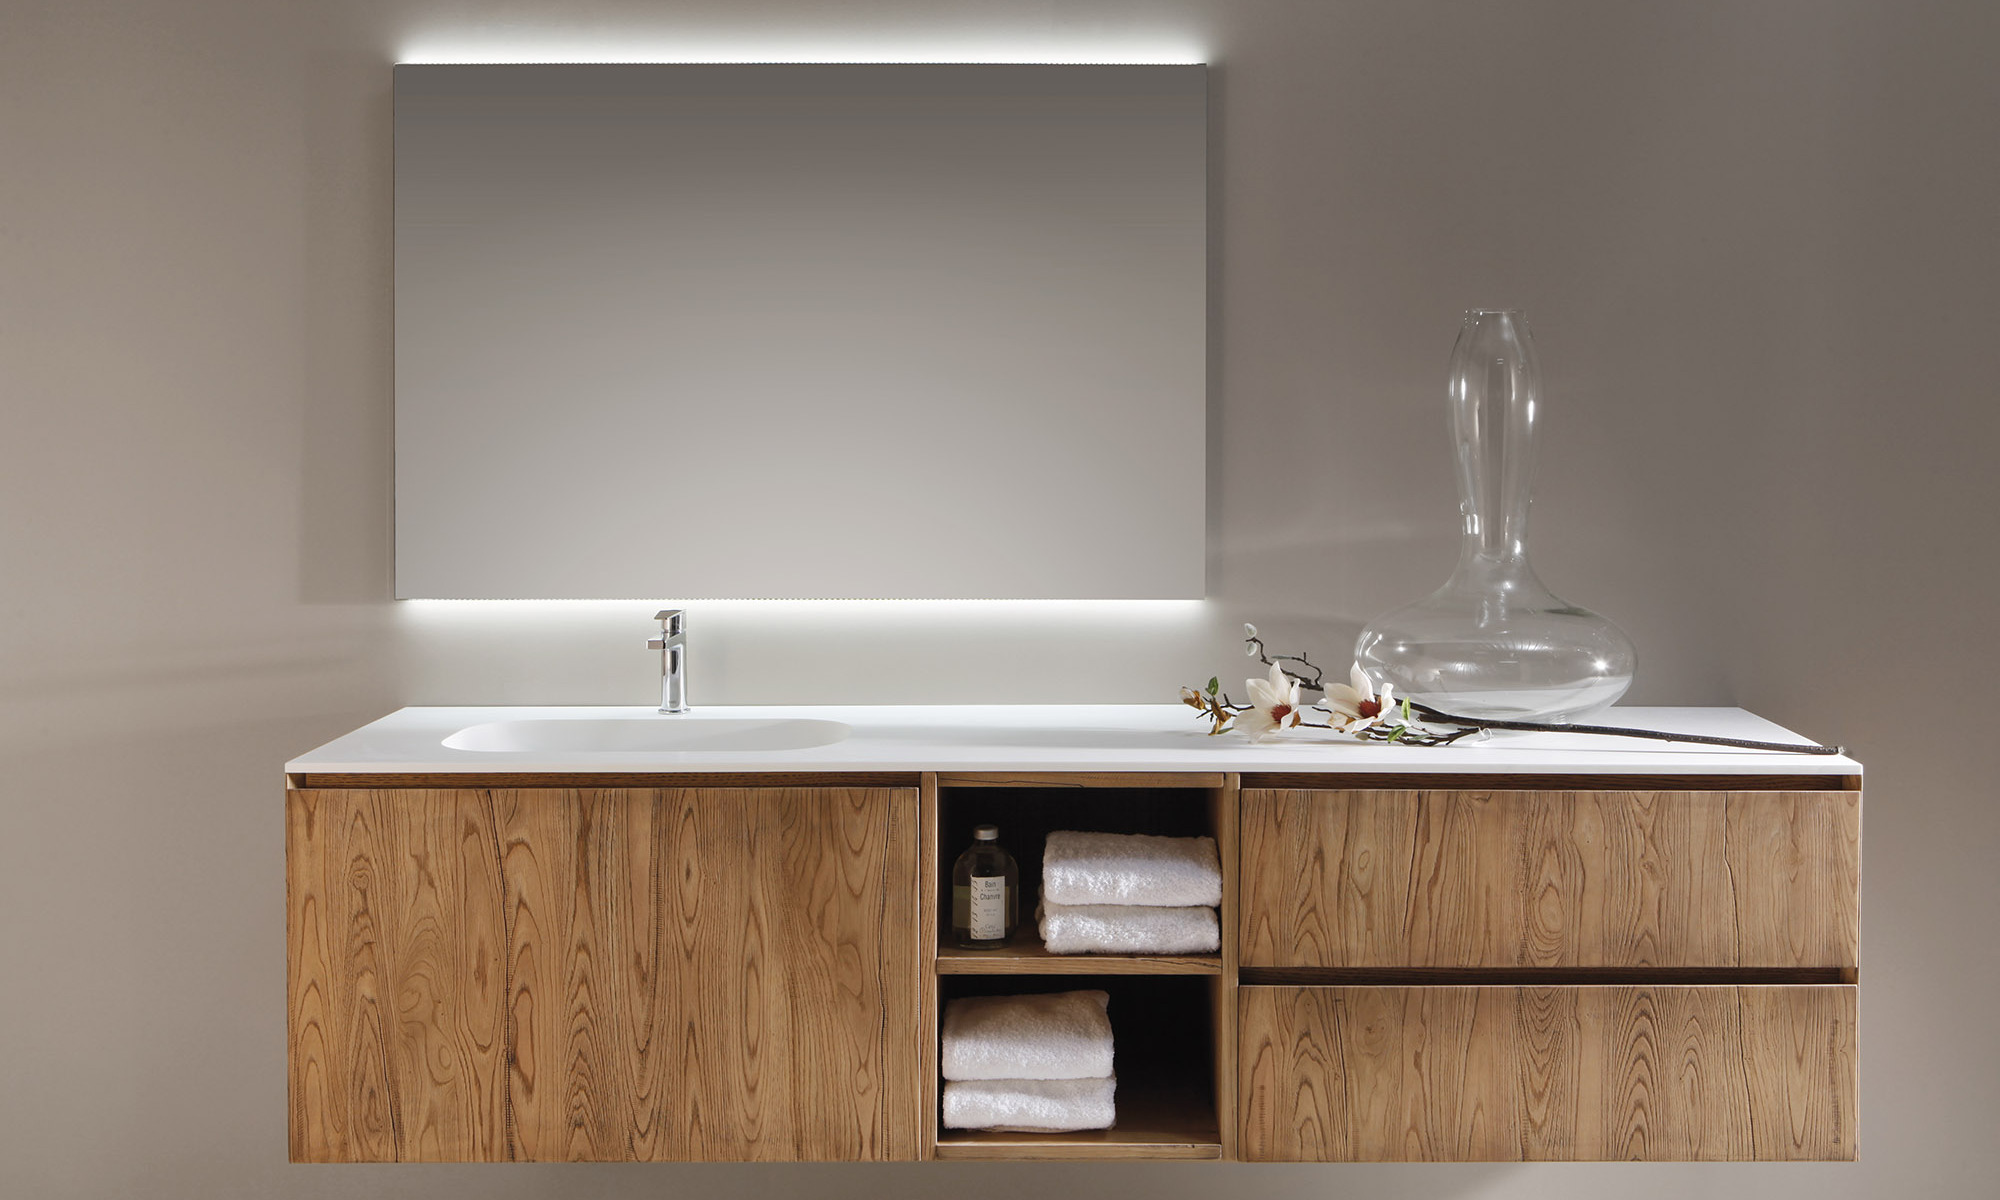
- Vanity unit. In a bathroom with a continuous floor, a wall-hung unit lets the floor show underneath and strengthens the sense of space.
All of this also counts in the budget: if you want to see how the costs break down, it is in how much a bathroom renovation costs.
An accessible shower that does not look like one
A level-access shower is, from the outset, the basis of an accessible bathroom: no step to negotiate, and a flat entry for a wheelchair, a walking frame or simply for anyone growing older in their own home. Done well, it never looks clinical:
- A Class 3 floor in the wet area and a finish that does not shine under the light.
- A soft contrast between floor and wall so the limits of the space are easy to read.
- Thermostatic fittings, which keep the temperature steady, and controls that are easy to operate.
- Reinforcement planned in the wall for a fold-down seat or grab rails, even if they are not fitted today.
Collections and brands for bathroom and shower
Some of the collections and brands we work with for bathrooms and showers:
- Coem, Sinai collection. Stone-effect porcelain in five tones (Avorio, Beige, Dorato, Grigio and Terra) and three finishes: natural rectified, polished and the anti-slip R11 Soft & Safe. Designed to cover a complete project, including bathrooms and wet areas. From the same house, Travertino Incisa brings a linear relief designed for wall cladding in design-led bathrooms.
- WOW, Abbey Stone. Aged stone with an anti-slip surface, ideal for wet areas, and a finish that is soft to the touch so the look stays consistent across the whole project. Its Marble collection is designed for wellness spaces.
- Inalco MDi. Large formats up to 160 x 320 cm and thicknesses of 4, 6, 12 and 20 mm. The Amara collection, with a natural relief that recalls Mallorcan stone, covers both floors and walls.
- Shower trays: Acquabella. If you opt for a flush tray, the Base Zero model is customisable, with a smooth, anti-slip finish and a choice of three grates.
- Taps and shower fittings. Ritmonio, Italian fittings with collections such as Elementa, designed to organise the whole bathroom with freedom of configuration; and CEA Design, in AISI 316L stainless steel, with thermostatic mixers in its Lutezia and MILO360 collections.
- Bathroom furniture: Mapini. A bathroom furniture maker based in Mallorca. Its Randa series, with a mitred finish, is modular and includes a wide range of worktops and basins; the Aleph series leaves natural wood on show.
Our full selection of taps, sanitaryware, shower trays and furniture is in bathroom and shower.
What to ask your installer
Taking these to the first visit saves changes halfway through the work:
- Is there enough depth to set the shower flush with the existing waste pipe?
- Which waterproofing system do you propose under the shower floor, and how high does it go up the walls?
- Linear or point drain? Where will it go, and with which grate?
- With that drain, which tile format is feasible on the shower floor?
- Which grout do you propose for the wet area?
- Where will the concealed valve body, the niche and any reinforcement for a seat or grab rails go?
Where to see it in Palma
A shower floor is chosen by hand and by foot: touching the texture, wetting it, comparing two finishes of the same tile under the same light. At our showroom you can compare floor and wall tiles side by side, which is how they will be lived with, and settle the fittings and furniture for the same project with us.
Gomila Cerámica
Carrer de Calçat, 16 · 07011 Palma (Mallorca)
Tel. 971 732 343 · info@gomila-ceramica.com
Opening hours and directions
Frequently asked questions
What is a tiled walk-in shower?
A shower built into the bathroom floor itself, with no prefabricated tray. The floor tiles continue into the wet area and form the falls towards the drain, over continuous waterproofing.
Is a tiled walk-in shower better than a flush shower tray?
It depends on the project. A tiled walk-in shower allows a completely continuous floor, but it needs careful work on falls and waterproofing. A flush tray has the fall built in from the factory and is more predictable. Both options give you a shower with no step.
What slip resistance class does a shower floor need?
The Spanish building code (CTE, DB SUA 1) assigns showers Class 3 (Rd > 45). It is mandatory in buildings for public use and the recommended benchmark in a private home. For bare feet, it is also worth checking the A, B or C rating under DIN 51097.
Can large format porcelain be used in a tiled walk-in shower?
Yes, especially with a linear drain, because the floor falls in a single plane. With a point drain and four falls, the usual choice is a small format or large pieces cut along the falls.
Which grout is best for a tiled walk-in shower?
Grout is the part that suffers most from water, limescale and soap. Ask your installer about a more resistant grout for the wet area, such as epoxy grout, and choose a colour close to that of the tile.
Is a level-access shower suitable for an accessible bathroom?
Yes, it is the basis of one: no step and a flat entry. Complete it with a Class 3 floor, thermostatic fittings and reinforcement planned in the wall for a seat or grab rails.